
Views: 0 Author: Site Editor Publish Time: 2026-08-14 Origin: Site


Industrial fluid control relies heavily on dependable isolation mechanisms. While a Ball Valve is designed for reliable, leak-free isolation, mechanical failures do occur. These unexpected breakdowns often lead to costly system downtime or dangerous environmental hazards. Identifying the exact reason behind a leaking or seized unit proves challenging without a structured approach.
Technicians frequently replace entire units unnecessarily. Sometimes a simple seal adjustment would suffice. Other times, they waste hours rebuilding severely pitted hardware. You need a reliable diagnostic framework. This helps evaluate whether internal parts remain salvageable.
This article provides a comprehensive technical guide for identifying root causes of valve failure. We will explore effective troubleshooting protocols, material science limitations, and field-tested mechanical diagnostics. You will learn exactly how to execute targeted solutions. We also explain how to determine the most effective repair strategies.
Most leaks are structural: Packing gland wear and damaged O-rings account for the majority of external leaks, while internal passing is typically seat degradation.
Application mismatch is the leading killer: Using a ball valve for throttling (flow control) rather than on/off isolation will rapidly destroy the seats.
Material limitations dictate lifespan: Brass is susceptible to dezincification, while PVC is strictly limited by temperature and UV exposure.
Replacement vs. Repair: Labor costs, downtime, and the severity of seat damage often make upgrading to a higher-spec valve more economical than rebuilding a failing one.
Mechanical failures typically manifest through visible leaks or physical resistance. Recognizing the early symptoms prevents catastrophic blowouts. Field technicians must systematically isolate the failure point before attempting repairs. We categorize these common failures into three distinct mechanical zones.
Valve Troubleshooting Matrix
Failure Category | Primary Symptom | Likely Root Cause | Initial Action |
|---|---|---|---|
External Leakage | Fluid pooling at the stem | Degraded packing or O-rings | Tighten packing nut incrementally |
Mechanical Seizure | Handle refuses to turn | Internal scaling or corrosion | Flush line and apply penetrant |
Internal Passing | Flow continues when closed | Scratched ball or worn seats | Plan for seat replacement |
External leakage creates immediate safety concerns. It also damages surrounding equipment. You will typically notice fluid pooling around the valve neck. Sometimes drips form along the body joints. This symptom indicates a breach in the primary pressure boundary.
The root cause usually involves degraded stem packing. Loose packing nuts also contribute significantly. O-rings frequently wear out due to continuous thermal cycling. Temperature fluctuations cause elastomeric seals to expand and contract. This eventually permanently deforms the material.
Your first solution involves mechanical adjustment. Tighten the packing nut incrementally. Turn it no more than one-eighth of a turn at a time. Do not over-torque the nut. Excessive force crushes the packing and binds the stem. If leaking persists, you must take further action.
Isolate the line completely upstream and downstream.
Depressurize the isolated section safely.
Drain all residual fluid from the piping.
Remove the handle and packing nut.
Replace the stem packing or O-rings with factory-specified components.
Actuation should feel smooth and consistent. A malfunctioning unit requires excessive torque to actuate. In severe cases, the mechanism becomes completely frozen. Operators often notice this issue after long periods of inactivity.
Several root causes create this mechanical binding. Calcification builds up rapidly in hard water environments. Debris often accumulates inside the internal ball cavity. Internal corrosion expands metal surfaces, creating extreme friction against the soft seats.
Never force a stuck handle. Using extension bars or hammers risks shearing the internal stem. Once the stem snaps, you lose all control of the fluid. Instead, isolate and flush the line thoroughly. If the stem area is accessible, apply industrial penetrating oil.
Let the oil soak for several hours. Gently work the handle back and forth. For severe internal scaling, you must disassemble the unit. Clean the ball and cavity using appropriate solvents. Replace the entire Ball Valve if you discover permanent pitting on the metal surfaces.
Internal passing remains a hidden but costly issue. Fluid continues to flow downstream even when the unit is fully closed. This compromises system safety during downstream maintenance. It also causes significant product loss over time.
This symptom traces back to internal component damage. Abrasive media heavily scratches the polished spherical surface. Debris gets trapped between the ball and the soft sealing rings. Throttling damage physically deforms the PTFE seats.
Addressing internal leaks requires intrusive maintenance. You must evaluate the valve's structural design first. Two-piece and three-piece designs allow for complete internal rebuilding. You can purchase specific seat replacement kits for these models.
Unibody or fully welded designs offer no repair options. You cannot access the internal cavity safely. In these situations, you must execute a full replacement. Always inspect the old ball for scratch marks. This helps identify abrasive media issues in your pipeline.
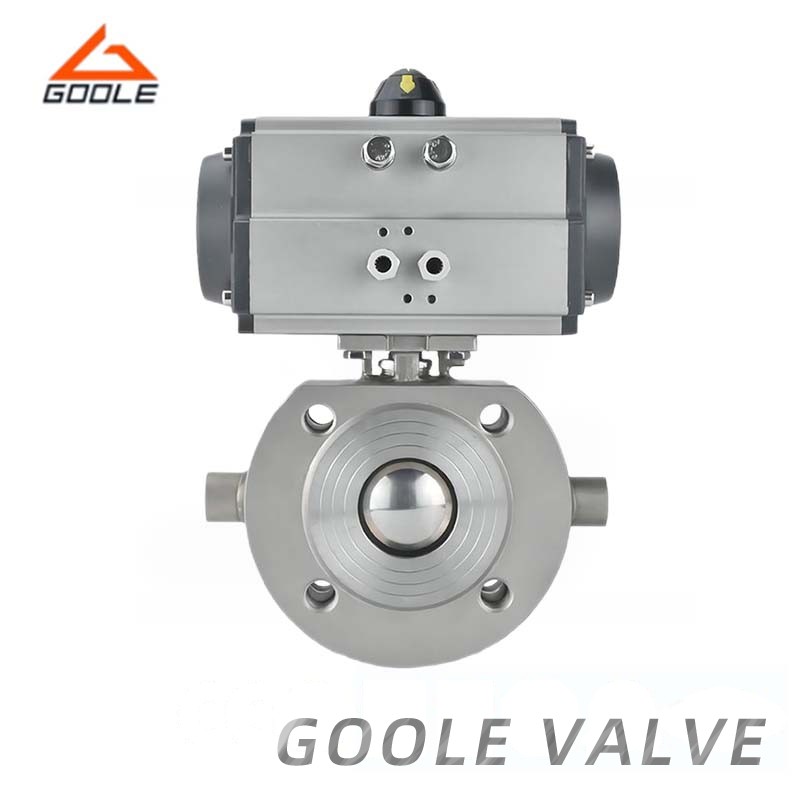
Selecting the wrong construction material guarantees premature failure. Industrial environments subject equipment to extreme chemical and physical stress. Actuators introduce additional layers of electrical complexity. Understanding these specific vulnerabilities prevents costly recurring breakdowns.
Standard brass remains popular for general plumbing applications. However, it harbors a fatal weakness in specific environments. The primary issue involves a chemical process called dezincification. Zinc physically leaches out of the brass alloy.
This degradation occurs rapidly in highly oxygenated water. Corrosive fluid profiles accelerate the process significantly. The resulting metal becomes structurally brittle. It eventually turns porous, weeping fluid directly through the solid body wall.
The solution requires upgrading your material specifications. You must transition to lead-free or DZR brass. DZR stands for Dezincification Resistant alloy. For highly aggressive water applications, bronze or 316 stainless steel provides superior longevity. These materials completely resist zinc leaching phenomena.
Plastic piping systems offer excellent chemical resistance and affordability. However, PVC materials possess strict operational boundaries. Common issues include structural warping and physical cracking. Thread stripping happens frequently during initial installation.
These failures result from exceeding the material's thermal limits. Standard PVC safely handles a maximum temperature of 140°F (60°C). Any fluid exceeding this rating softens the plastic immediately. Furthermore, direct UV exposure degrades the polymer chains, causing severe embrittlement.
Your solution involves strict environmental control. Ensure proper physical shielding from direct sunlight. Never use standard PVC near steam lines or hot water loops. If high temperatures are strictly required, you must upgrade your piping. Transition to CPVC or metallic piping systems to ensure safety.
Automated systems rely heavily on motorized components. A common issue arises when the valve fails to actuate completely. Sometimes the motor simply hums without any visible movement. This indicates a disconnect between electrical input and mechanical output.
Troubleshooting requires a dual-pronged approach. First, verify the main power supply. Check carefully for voltage drops across the terminal block. Voltage drops under heavy load frequently stall the electric motor. Next, check for physical mechanical binding.
The actuator might be attempting to turn a seized ball. Disconnect the actuator and attempt manual operation. If the unit opens partially, suspect the internal limit switches. Re-calibrate the mechanical limit switches according to the manufacturer's precise datasheet.
Equipment rarely fails purely from manufacturing defects. Human error drives the vast majority of premature breakdowns. Operators frequently misunderstand the physical limitations of their equipment. Correcting these poor operational habits extends component lifespan dramatically.
Using Ball Valves for Throttling: Standard designs provide strictly on/off isolation. Operators mistakenly use them to regulate flow by leaving them partially open. This exposes the soft seats to high-velocity fluid streams. The resulting erosion guarantees premature internal leakage.
Ignoring Media Compatibility: Chemical compatibility dictates seal survival. Selecting standard PTFE seats for incompatible chemicals causes rapid degradation. Highly abrasive media easily shreds soft elastomeric components. Always cross-reference your fluid with standard chemical resistance charts.
Improper Installation Torque: Over-tightening threaded connections causes severe structural damage. This happens frequently on PVC and brass bodies. Excessive torque distorts the outer body casing. This misaligns the internal spherical mechanism, creating immediate friction and leakage issues.
Train your personnel to recognize these specific operational boundaries. Implement strict guidelines regarding throttling practices. Use globe valves or designated control valves for flow regulation. Proper education eliminates the most common sources of catastrophic equipment failure.
Maintenance teams constantly face difficult resource allocation choices. Deciding whether to repair or replace hardware requires systematic evaluation. Wasting hours repairing a compromised unit drains your maintenance budget. Conversely, discarding perfectly repairable equipment inflates your replacement costs.
You must establish a standardized assessment protocol. This protocol removes guesswork from your maintenance strategy. It ensures consistent decision-making across your entire facility. We categorize these maintenance scenarios into clear actionable categories.
Certain designs prioritize long-term maintainability. Three-piece designs are specifically engineered for inline maintenance. You can easily remove the center section without disturbing the surrounding pipework. This design makes seat and seal replacement highly efficient.
Replacing internal soft parts proves highly recommended here. The cost of a repair kit represents a fraction of a new unit. If the metal body remains structurally sound, rebuilding makes perfect sense. Always inspect the internal bore for corrosion before committing to a rebuild.
Many situations demand complete unit replacement. One-piece unibody designs cannot be safely disassembled. You must discard them once internal leakage begins. Heavily corroded brass or carbon steel bodies present extreme blowout risks. Never attempt to repair structurally compromised metal.
Replacement is mandatory when dealing with initial misapplications. If a component failed due to chemical incompatibility, rebuilding it changes nothing. It will simply fail again in the exact same manner. You must procure a completely different material specification.
If replacing the unit, thoroughly document the specific failure mode. Take photographs of the damaged seats or corroded body. This documentation informs your future purchasing decisions. It helps your engineering team select superior upgrades.
Select advanced seat materials like PEEK for high-temperature applications. Choose appropriate body materials that match your fluid chemistry perfectly. Ensure accurate sizing and pressure ratings to eliminate recurring failures. A properly specified Ball Valve provides decades of reliable service.
Resolving isolation failures demands systematic investigation and precise execution. We have demonstrated that most issues stem from a direct mismatch between specifications and the operational environment. You must respect material limitations to achieve long-term reliability.
Routine preventative maintenance remains your strongest defense. Cycle your automated and manual units periodically to prevent scale buildup. Inspect packing nuts regularly and adjust them before major leaks develop. These simple habits prevent catastrophic failures and unplanned facility downtime.
We encourage you to audit your failing equipment actively. Use the provided diagnostic frameworks to assess your current installation base. Consult technical datasheets carefully before making purchasing decisions. Sourcing appropriately rated replacements permanently eliminates your recurring fluid control frustrations.
A: Standard WD-40 is a solvent, not a long-term lubricant, and can degrade rubber O-rings or plastic components. Penetrating oils can be used cautiously on metal stems, but the root cause (internal scaling) must be addressed.
A: No. While slightly snugging a packing nut is sometimes done, working on a pressurized valve risks catastrophic blowout. Always isolate and depressurize the line before maintenance.
A: This is typically caused by misaligned internal limit switches within the actuator, a voltage drop in the power supply, or mechanical binding in the valve body triggering the motor's overload protection.
A: Only if it is a multi-piece design where the seats can be accessed and replaced. If the internal ball is scored or scratched, the entire valve must be replaced.


